Gabmap uses information provided in a KML file to visualize the dialect data on maps. The KML is a popular format for storing geographical information. Many cartography applications, including popular Google maps, and Google earth, can import and export data in KML format.
In this tutorial we will create a simple map in KML format to be used with Gabmap.
Before we start creating our map, a note on how Gabmap uses information provided in KML files is in order. KML files can contain detailed information about the mapped area and its visualization. However, Gabmap uses only points and polygons within these objects. Typically, you will have a number of points marking the data-collection locations, and a single polygon marking the borders of the area you are interested in. It is important to name the locations in your map exactly as you name them in your data files.
Most commonly used application for preparing maps for Gabmap is Google Earth or online Google maps. We will only cover how to make maps using the Google maps here. If you’d like to use Google Earth, you may find the RuG/L04 tutorial at http://www.let.rug.nl/kleiweg/L04/kml/manual.html useful. You can also use any other application that produces a KML document. In case you have a map saved in a different format we point you to two converters that can convert from many different file formats to KML. The free application GPSBabel converts to and from many different geographic data formats, and includes flexible ways to filter the data. The second one is the online converter available at http://geoconverter.hsr.ch/.
For the rest of this tutorial we will focus on creating a map of Belgium to be used in Gabmap. To use this option you need a modern browser, and a Google account.
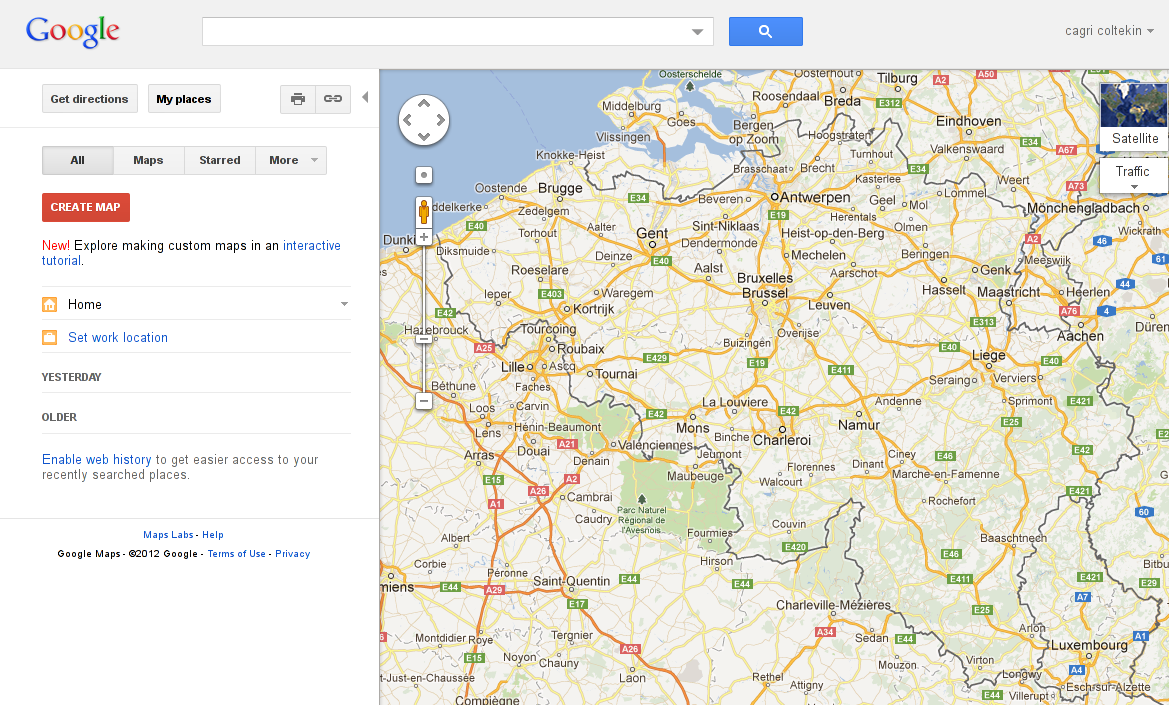
First, you need to point your browser to https://maps.google.com/ and log in. First, you should pan into an area that covers Belgium. You should have a view similar to this:
Now, click to create map button. You will be asked for a title and an optional description. You can also choose whether you’d like to keep your map private or share it. Give a name to your map, such as ‘Belgium’. Click Save button above the title to save your map. It is a good idea to save your map time to time while working on it.
You should also be seeing a set of buttons on the upper-left corner of the map.

We will be using the second one from the left for marking locations, ‘placmarks’, and the third one for adding borders.
You can add place marks in two ways. First, you can select the place mark tool, and click on the location you want to mark. A new dialog will appear so that you can give a name to your place mark.
Second, you can search the place you like to record using the search box above the map. Once you found the city or spot you are interested in, click the link ‘Save to map’. You will be presented with a select box where you can select among the maps you are created, and click to Save to include the place mark in the selected map.
Your map after adding these two place marks should look like the following image:
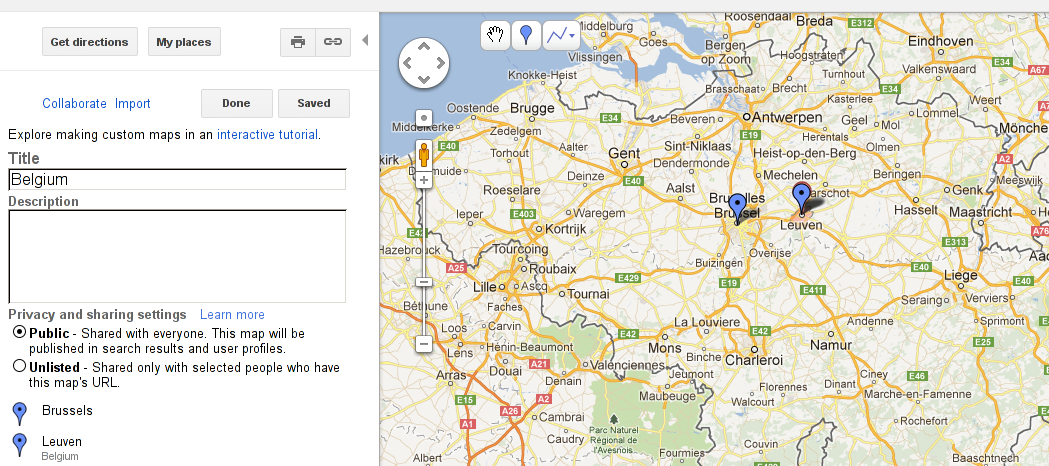
You can drag your place marks on the map if you want to move them. You can also edit the associated information about your place marks, but only the name and the coordinates of a place mark will be used by Gabmap.
The next step is to create a polygon that marks the borders of the area we are interested in. For this we click on the right-most button on the upper-left corner of the map, and from the drop-down box, we choose Draw a shape option. Now, you should be seeing a closed shape on the button. Now clicking on the map will allow you to mark corners of a polygon. Once you are done with the last point, double clicking to the map will close the polygon, and you will be asked for a name, and an optional description. Note that, Gabmap does not use the name or the description of a polygon.
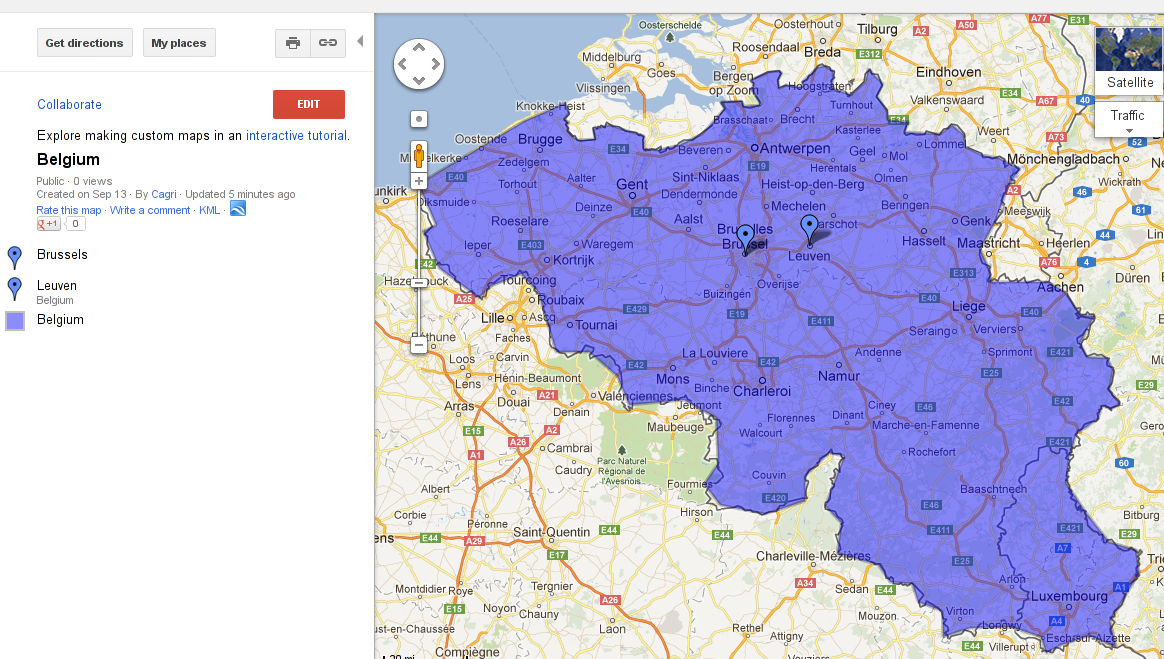
The following image shows the result of a somewhat crude tracing of Belgian borders.
We are ready to save our map as a KML file. First, do not forget to save your map, and click to Done. Here is what you should see on the left panel of Google maps:
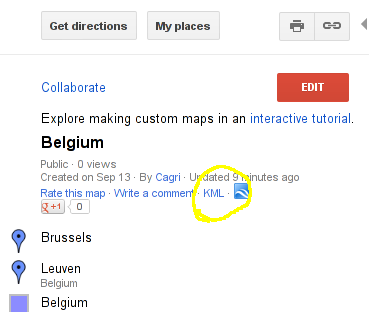
Now click on KML, and instruct your browser to save it. You have just created a map that you can use with Gabmap.
One last tip: if you already have a KML file, you can first upload it while creating the map, and edit it as needed.